
Electron은 Node.js 개발자에겐 정말 강력한 무기입니다.
웹 사이트를 구성하던 기술 그대로 Desktop Application을 만들 수 있게 해주기 때문이죠.
이미 Electron은 충분히 알려져있기 때문에 공식 사이트에 있는 글로 소개를 갈음합니다.
Electron?
Electron은 JavaScript와 HTML, CSS를 이용해 Desktop Application을 제작할 수 있는 프레임워크입니다. Chromium과 Node.js를 바이너리에 내장하여, Electron은 하나의 JavaScript 코드로 Windows와 macOS, Linux에서 모두 작동할 수 있는 크로스 플랫폼 App을 만들 수 있도록 도와줍니다. Native app 개발 경험이 필요하지 않죠.
Intoroduction | Electron
Electron 개발 준비
Electron 개발을 위해선 특별한 준비가 필요하진 않습니다.
각자 원하는 에디터를 사용할 수 있고, 특정 OS를 사용할 필요도 없죠.
단, Node.js 기반이기 때문에 최신 LTS 이상의 Node.js는 설치가 필요합니다.
Node.js가 설치되어 있지 않다면 이 링크를 통해 다운로드 및 설치를 진행하세요.
패키지 초기화
먼저 적당한 이름(start-electron)의 빈 디렉토리를 생성하고, 아래 명령어를 실행하여 패키지를 초기화 합니다.
npm init
여러 질문이 나오는데 대부분 기본값을 그대로 사용하셔도 됩니다.
단, entry point는 관습적으로 main.js를 사용합니다.
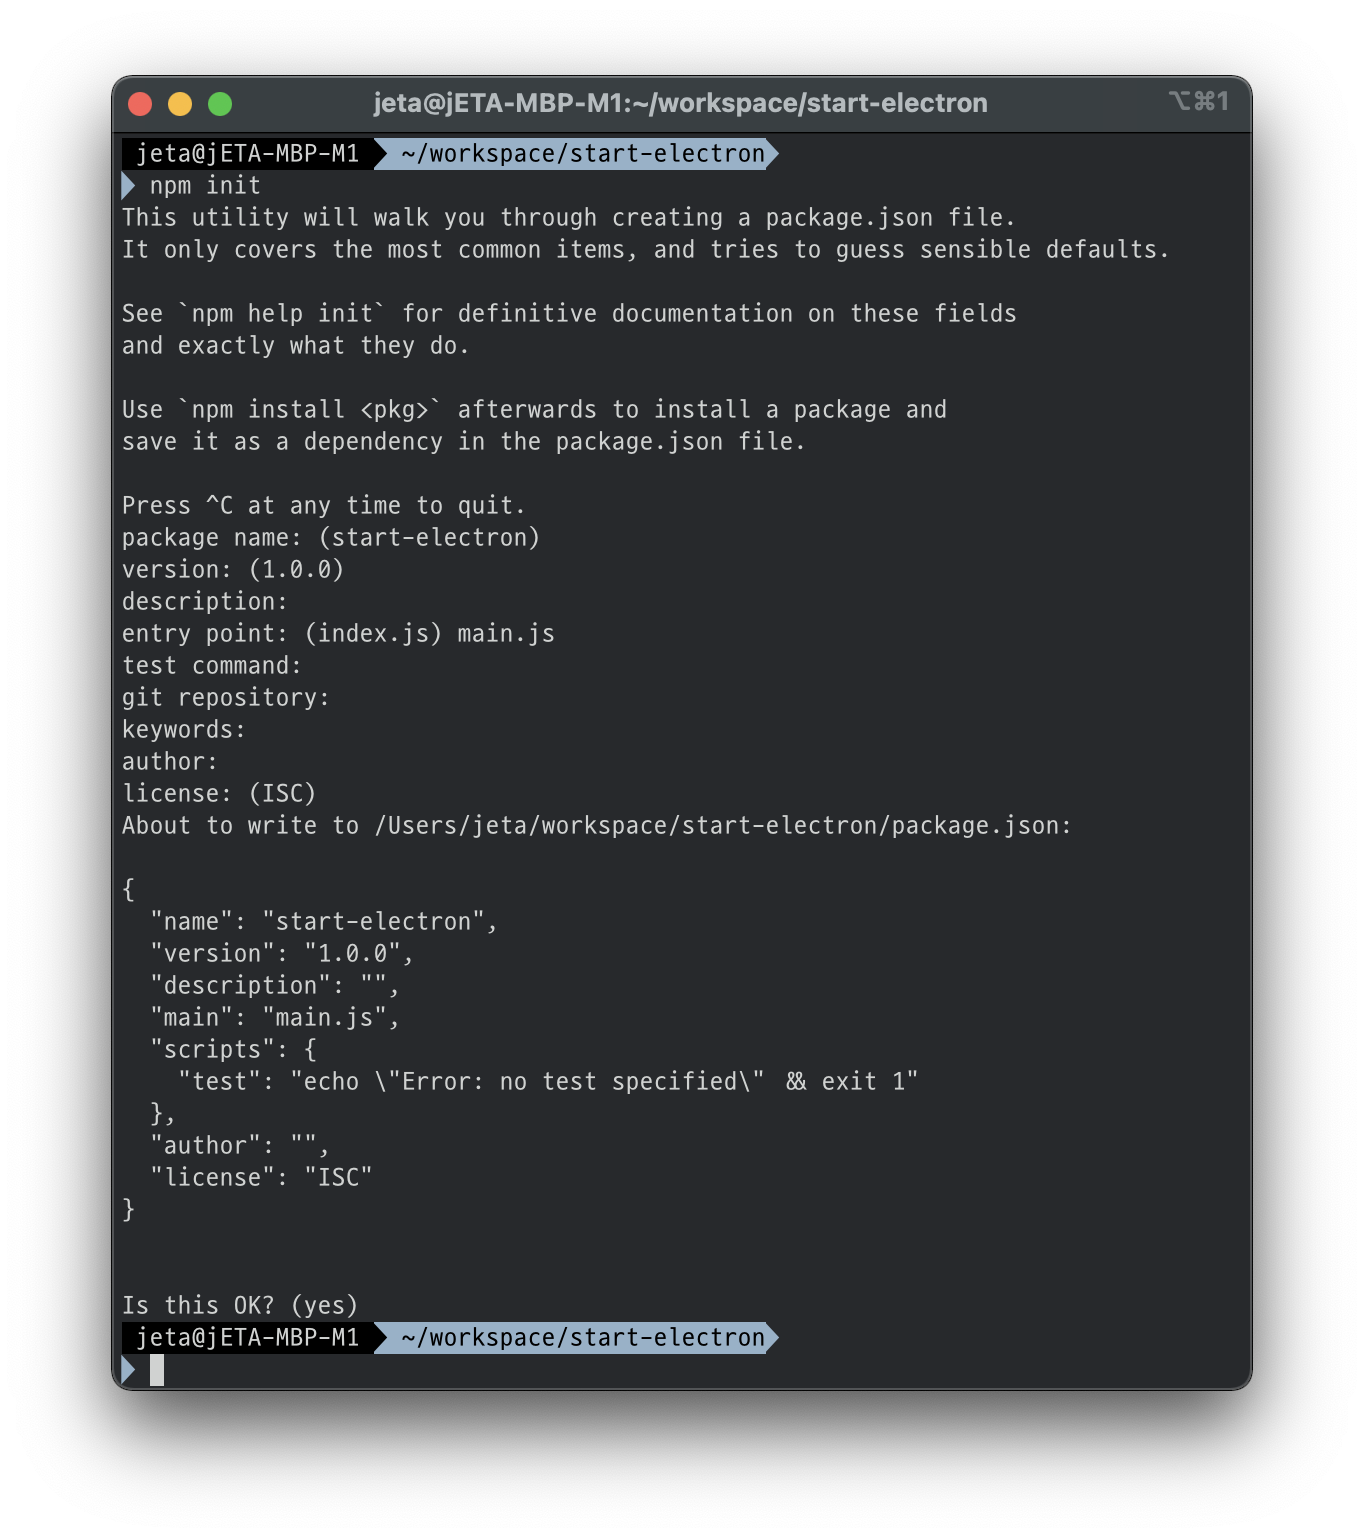
초기 설정이 완료된 후 아래 명령어로 Electron 의존성을 추가합니다.
npm i --save-dev electron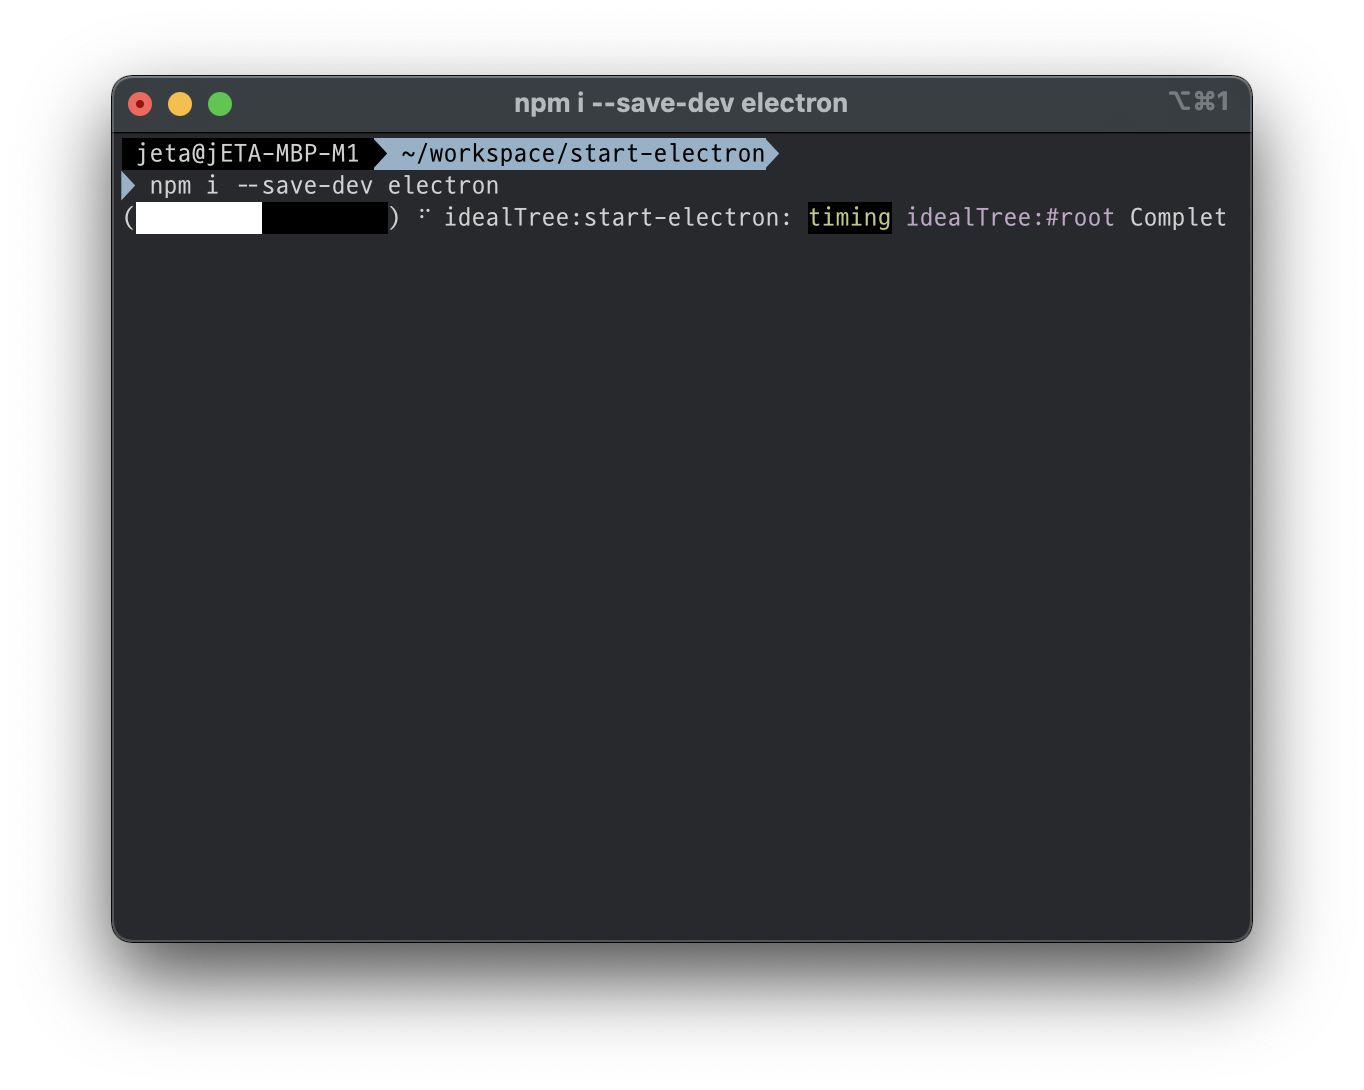
설치가 완료되면 마지막으로 package.json 파일을 아래와 같이 수정합니다.
{
  "name": "start-electron",
  "version": "1.0.0",
  "description": "",
  "main": "main.js",
  "scripts": {
    "start": "electron ."
  },
  "author": "",
  "license": "ISC",
  "devDependencies": {
    "electron": "^17.1.1"
  }
}
7번째 줄에 start 스크립트를 추가하였습니다.
나머지 부분은 본 문서와 다르더라도 크게 상관 없습니다.
Hello, World!
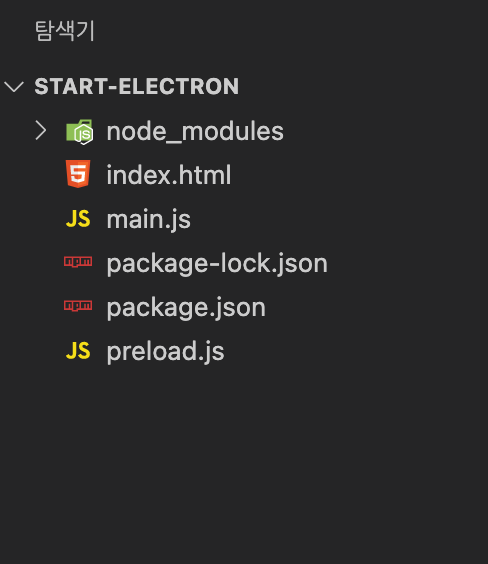
이제 실제로 실행을 위한 3개의 파일을 생성합니다.
모두 생성한 후 디렉토리 구조는 아래와 같습니다.
main.js
const { app, BrowserWindow } = require('electron');
const path = require('path');

const createWindow = () => {
    const win = new BrowserWindow({
        width: 640,
        height: 480,
        webPreferences: { preload: path.join(__dirname, 'preload.js') }
    });

    win.loadFile('index.html');
};

app.whenReady().then(() => {
    createWindow();

    app.on('activate', () => {
        if (BrowserWindow.getAllWindows().length === 0) createWindow();
    });
});

app.on('window-all-closed', () => {
    if (process.platform !== 'darwin') app.quit();
});
5번째 줄~9번째 줄: 창을 정의합니다.
8번째 줄: 페이지가 표시되기 전에 실행할 전처리 코드를 지정합니다. 스크립트는 반드시 절대 경로로 전달되어야 합니다.
11번째 줄: 창에서 불러들일 HTML 문서를 지정합니다.
14번째 줄: Application이 준비된 후 실행할 스크립트를 지정합니다.
preload.js
window.addEventListener('DOMContentLoaded', () => {
    const replaceText = (selector, text) => {
        const element = document.getElementById(selector)
        if (element) element.innerText = text
    }

    for (const type of ['chrome', 'node', 'electron']) {
        replaceText(`${type}-version`, process.versions[type]);
    }
});
자세히 볼 필요는 없습니다.
전처리 코드를 넣을 수 있다는 것을 보이기 위한 예제입니다.
index.html
<!DOCTYPE html>
<html>
    <head>
        <title>Hello, World!</title>
    </head>
    <body>
        <h1>Hello, World!</h1>
        <p>
            It's using Node.js <span id="node-version"></span>, Chromium <span id="chrome-version"></span> and Electron <span id="electron-version"></span>.
        </p>
    </body>
</html>
실행
터미널에 아래 명령어를 입력하면 App이 실행됩니다.
npm start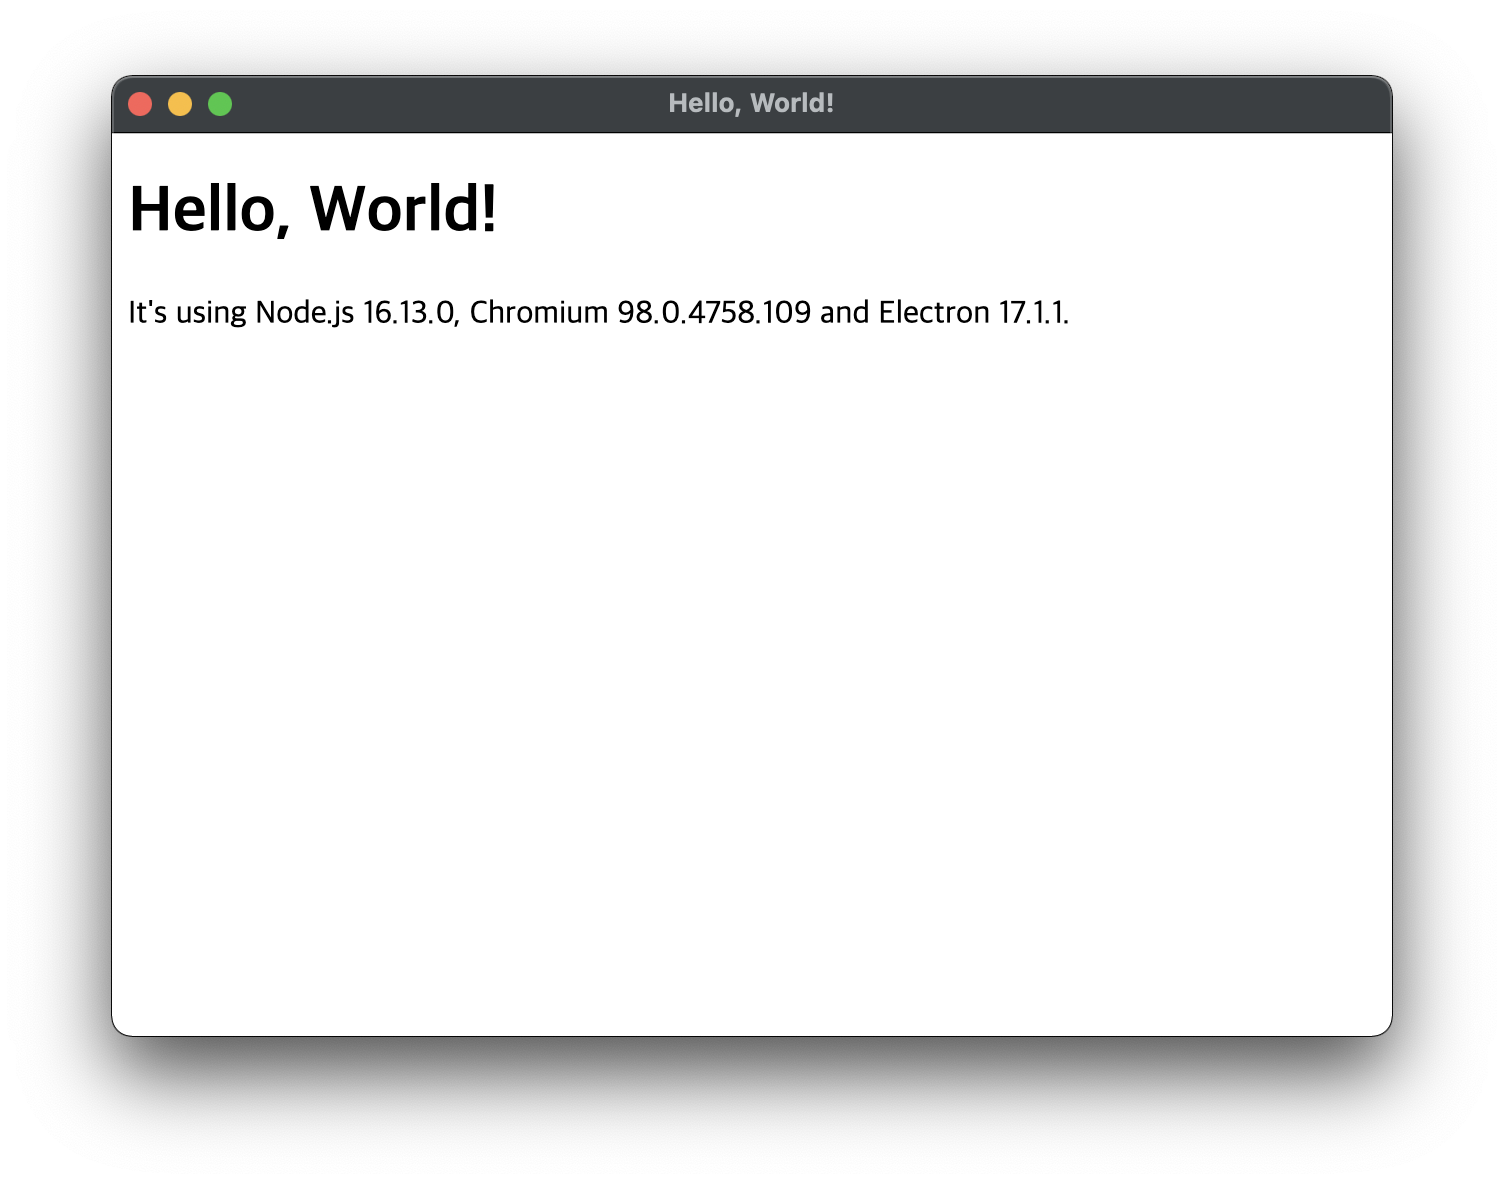
참고 문서
- Quick Start | Electron - https://www.electronjs.org/docs/latest/tutorial/quick-start
- Electron(일렉트론) 이란? - https://velog.io/@ckstn0777/Electron일렉트론-이란
- 일렉트론(Electron) 쉬운 사용법 - Cyp Software Blog - https://cypsw.tistory.com/56